This topic demonstrates how to enable the grouping functionality in an igGrid™ in both jQuery and MVC.
This topic contains the following sections:
The GroupBy feature of the igGrid control is not enabled by default, so you need to enable it explicitly. You need to also explicitly set the columns that you want to be grouped when the grid is created together with any additional properties you might want configured, like the sorting direction inside the group.
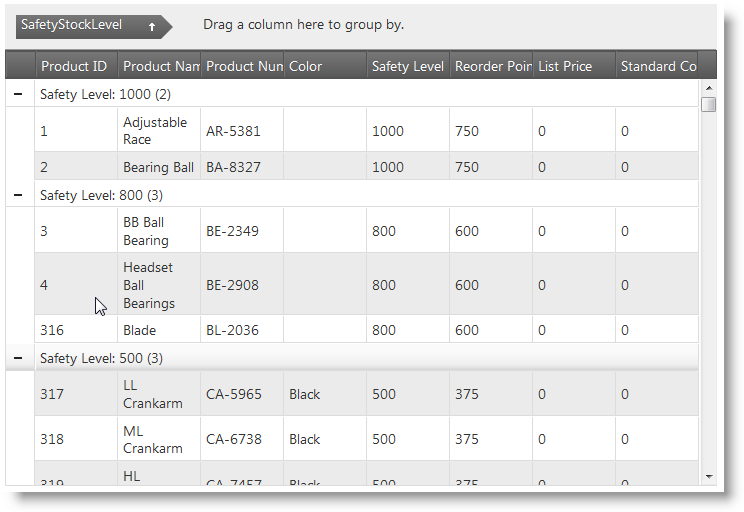
The example below configures a grid with the grouping feature enabled and the content grouped by default by one of the grid’s columns – Safety Level.
Following is a preview of the final result.

jQuery-specific requirements
A table tag in the body of the HTML page to serve as a container for the grid
In HTML:
<table id="t1">
</table>
MVC-specific requirements
The required scripts for both Ignite UI for jQuery and Ignite UI for MVC samples are the same because the Ignite UI for MVC render jQuery widgets.
The following scripts are required to run the grid and its grouping functionality:
The following code sample demonstrates the scripts added to the header section of a HTML file.
In HTML:
<script type="text/javascript"src="jquery.min.js"></script>
<script type="text/javascript" src="jquery-ui.min.js"></script>
<script type="text/javascript" src="infragistics.core.js"></script>
<script type="text/javascript" src="infragistics.lob.js"></script>
For the purpose of this example only:
Inside the $(document).ready() event handler create an igGrid with grouping feature configuration to allow grouping by column. In the example below the grid is sorted by default by one of its columns (SafetyStockLevel).
In Javascript:
$("#grid1").igGrid({
     features: [
        {
            name: 'GroupBy',
            columnSettings: [
                {
                    columnKey: "SafetyStockLevel",
                    isGroupBy: true,
                    dir: "asc"
                }
            ]
        }
    ],
    dataSource: adventureWorks,
    responseDataKey: 'Records',
    autoGenerateColumns: true
});
To verify the result, open the HTML file in your browser. You will see the grid grouped by the default grouped column and you can group by other columns or undo the current grouping.
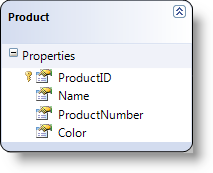
Create a LINQ to the SQL model.

Create an MVC Controller method.
Create MVC Controller method to get the data from the SQL Model and to call the View.
In MVC:
 public ActionResult Default()
 {
     var ctx = new AdventureWorksDataContext("ConnString");
     var ds = ctx.Products;

     return View("Events", ds);
 }
Create the grid.
Define the grid itself along with the Group By feature and all his configurations:
In Razor:
 @(Html.Infragistics()
     .Grid(Model)
     .ID("grid1")
     .Features(feature => {
         feature.GroupBy().ColumnSettings(groupedGolumn =>
         {
             groupedGolumn.ColumnSetting().ColumnKey("Color").IsGroupBy(true);
         });
     })
     .AutoGenerateColumns(true)
     .PrimaryKey("ProductID")
     .Width("750px")
     .DataBind()
     .Render()
 )
Save the project.
(Optional) Verify the result.
To verify the result, run your application. You will see the grid grouped by the default grouped column and you can also group by other columns or undo the current grouping.
The grouping functionality allows using a custom function to group the data using some criteria that differs from the default ones. For example, you may want to group a column based on the parity (the oddness or the evenness) of certain numbers.
The following topics provide additional information related to this topic.
The following samples provide additional information related to this topic.
View on GitHub